Discovery 2 Suspension Lift
Modifying the Discovery 2 is becoming ever-more popular. It’s a perfect vehicle for it in many ways – though there are tricky bits to be aware of too
As time goes on and prices continue to drop, the Discovery 2 is quickly gaining popularity among off-roaders. The earlier model is becoming rarer now, but with the tenth anniversary of its demise approaching the TD5 is quickly becoming the Disco of choice if you want to build a project.
A prime reason for this is that the TD5 engine has come to be renowned for its reliability. Fixing it is beyond most people who’d happily work on a Tdi or early V8, but look after one and most of the time it’ll look after you.
The Disco 2 is a more complex beast than the older model, though, and that applies to more than just its engine. There are plenty of kits available for lifting its suspension, but doing so isn’t as straightforward as it would be if you were working on a Defender, Disco 1 or Range Rover Classic.
What we’re looking at here isn’t meant to be a guide to fitting new springs and shocks. Instead, it’s a pointer to the particular obstacles that need to be overcome when you lift a Disco 2.
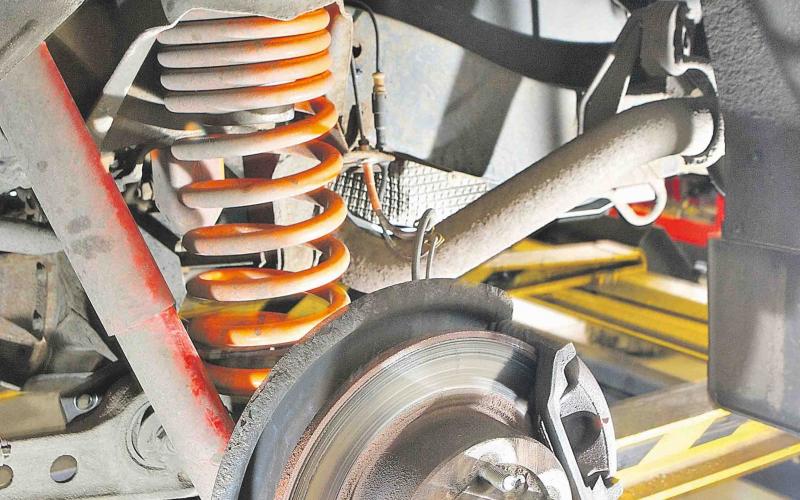
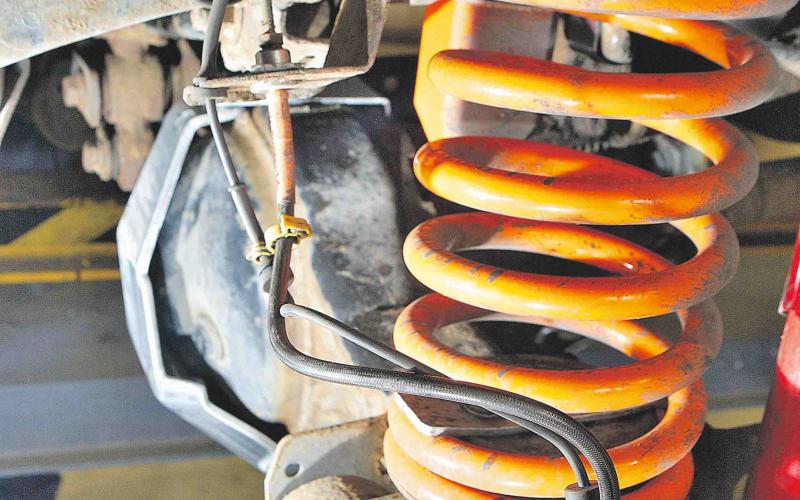
The kit that was being fitted when these pictures were taken was a +2” job from Extreme 4x4. Thus the suspension afterwards was going to be not only taller but also more flexible, meaning greater travel for the brake hoses and anti-roll bars to cope with.
Nothing abnormal in that, of course, but in the Disco 2’s case that means worrying about ABS sensors and, more uniquely, the Active Cornering Enhancement system – basically, a front anti-roll bar with hydraulic assist. Get that operating at an angle that confuses it, and you can look forward to all sorts of fun and games.
So, you don’t want to go taking this as the definitive step-by-step guide to lifting a vehicle. Do take it as a good bit of inside knowledge on what you’ve got to think about before going to work, though, and you’ll know the pitfalls (and possible solutions) before they open up in your face.
Fact is, the Disco 2 is a great base for a project. It certainly is more complicated than earlier models, and no less prone to winding you up, but do the work well and it’s a truck that’ll always reward you.
Making sense of the sensors
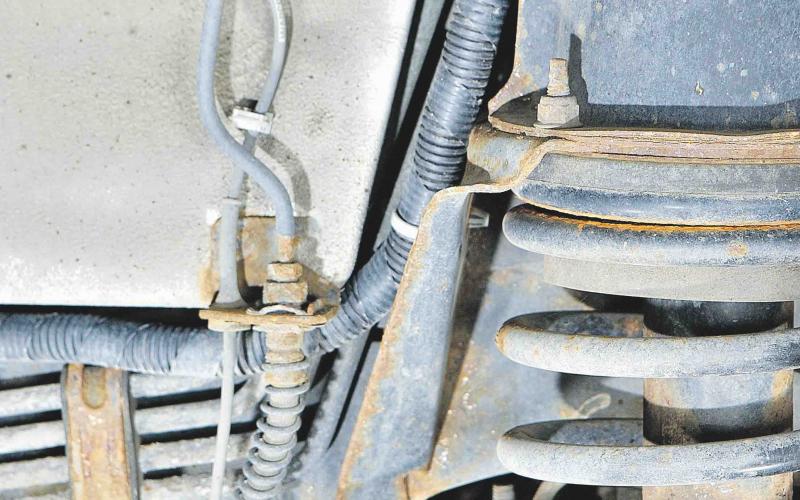
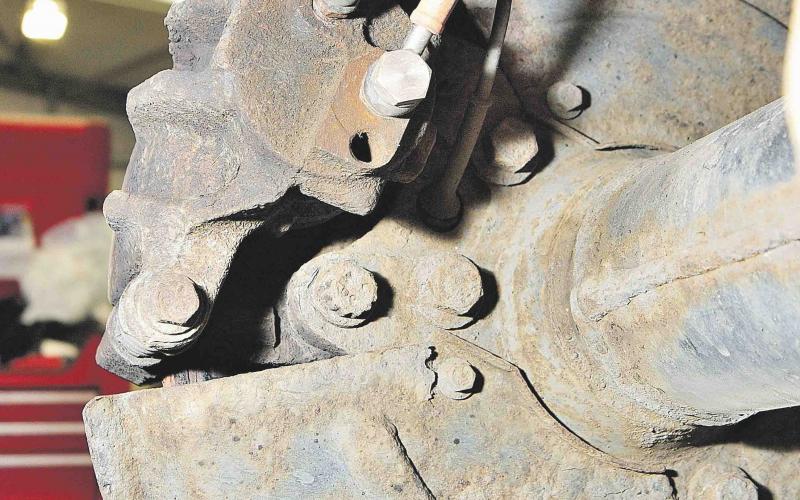
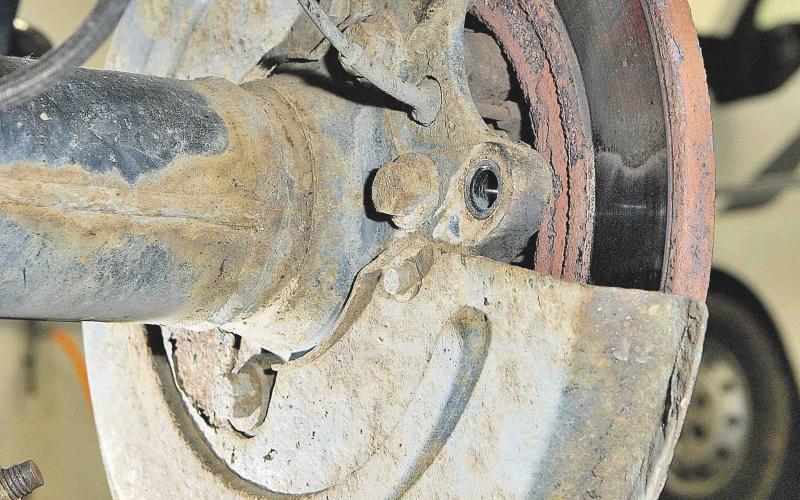
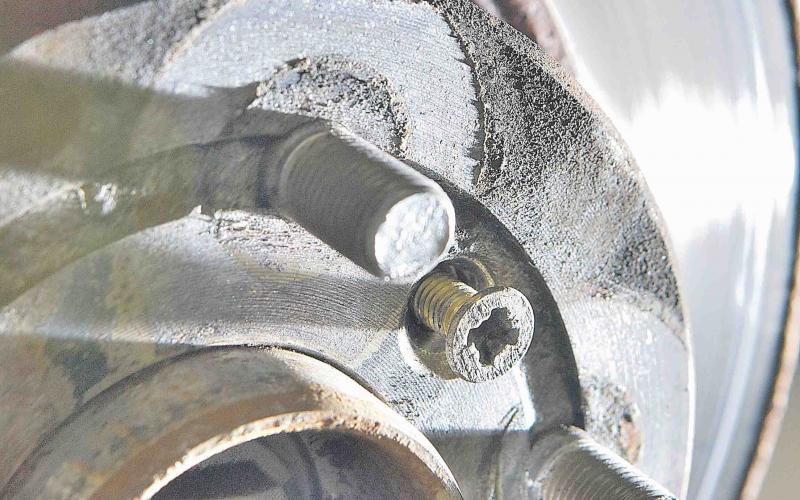
In keeping with just about everything this modern, the Disco 2 came with ABS as standard. Thus there are sensor feeds clipped to the four brake lines.
These are long enough at the front to cope with an additional couple of inches’ suspension height, as well as the extra travel that goes with it. But it’s a different story at the back, where the position of the feeds’ connectors means they don’t have to be as long.
Fortunately, that’s the only difference between them. Which means you can simply buy a set of front sensors and fit them in place of the original rear ones. A warning here, though, is that a different kind of sensor feed was used from the 2002 model year onwards; the vehicle here is from before that, but if yours is a later one it’ll have units without connectors which may not need to be replaced.
Lifting the ACE links
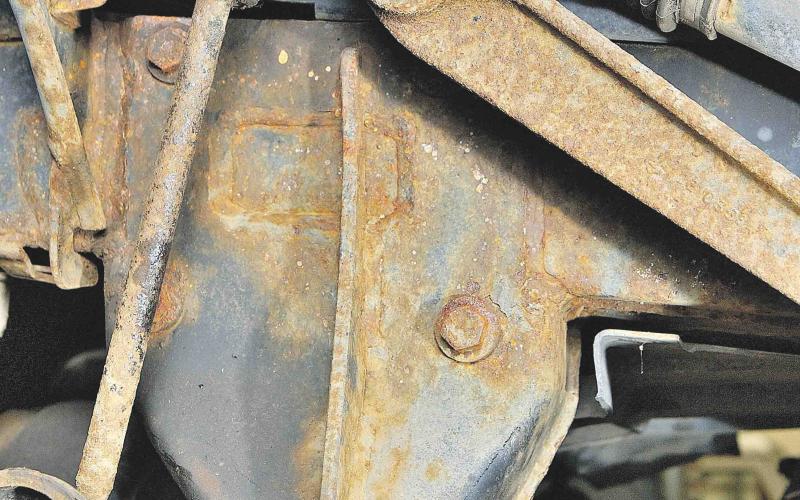
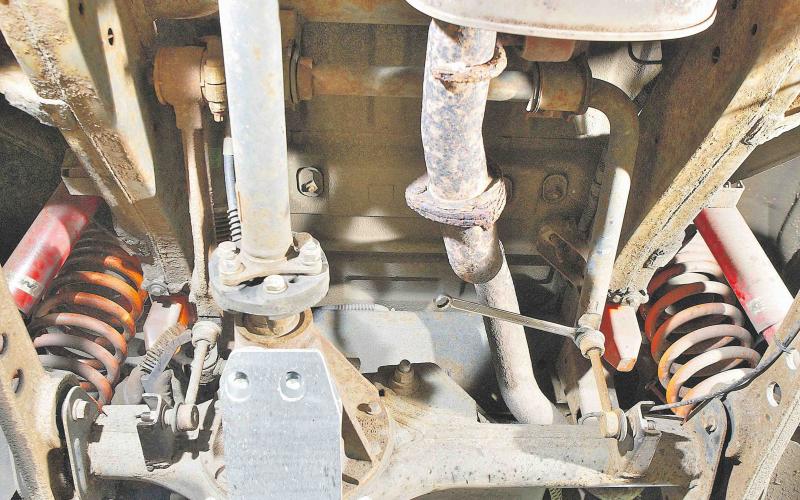
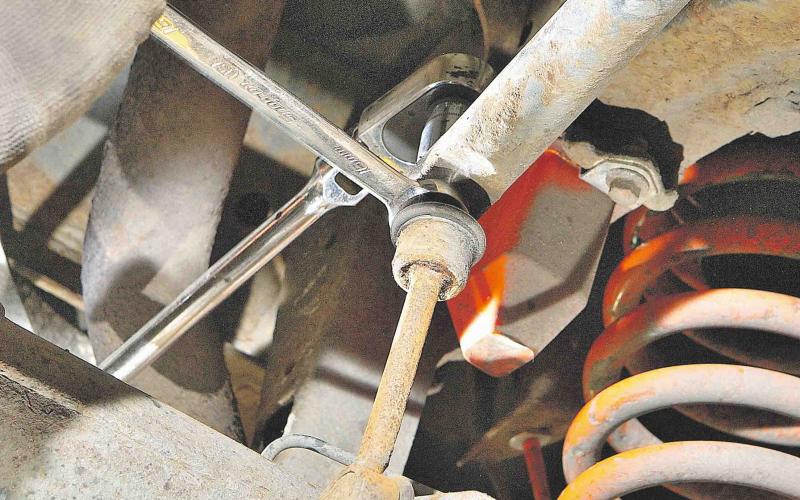
Active Cornering Enhancement (ACE) is basically a hydraulically controlled front anti-roll bar. It’s meant to combat the bouncy handling for which the original Disco was often criticised.
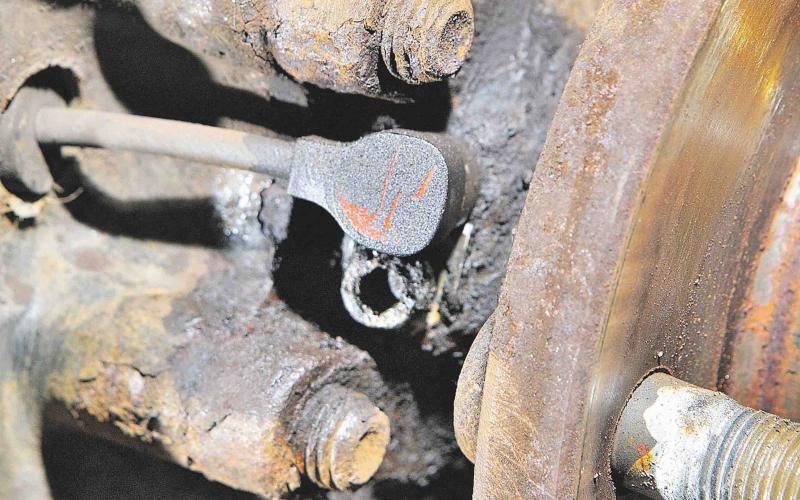
The problem this gives you is that when you lift a vehicle, you alter the resting angle of its anti-roll bar linkages. When one of those linkages has a hydraulic ram operating on it, that’s a recipe for trouble.
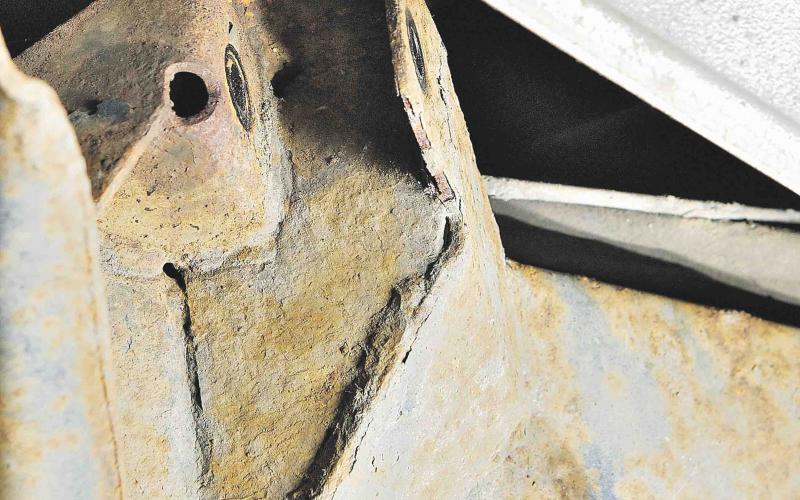
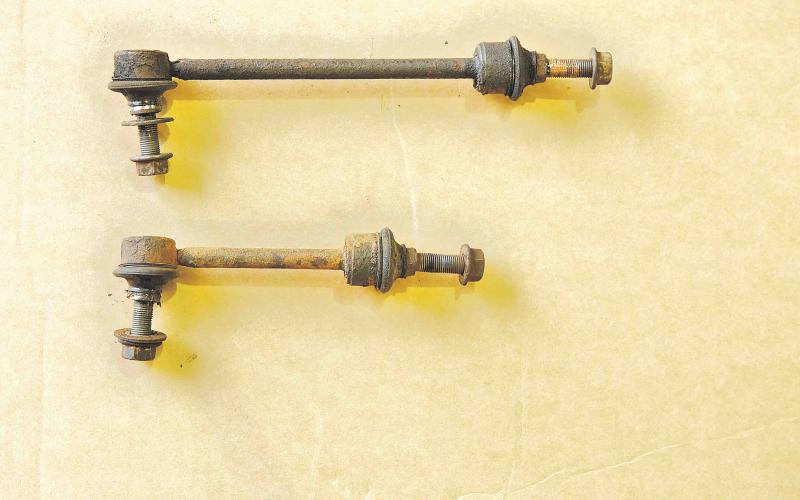
The workshop solution in this case was a bit opportunistic, but it did the job with minimum fuss. The front and rear linkages are different lengths – and with the suspension lifted by 2”, the ones from the back were just right to go on to the front.
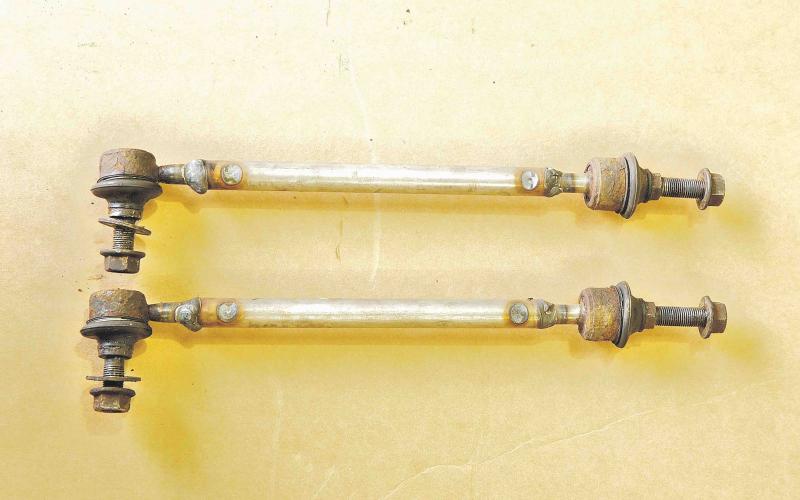
That sorted any issues with the ACE, but of course it meant that the linkages from the front were now doubly too short to go on the back. The answer was to extend them, carefully welding in a length of bar to make them the right length.
If you’re thinking ‘MOT fail,’ you won’t be alone. But the proof of the pudding is in the eating, and this Disco has passed the test three times since the work was done, each with a different tester.


